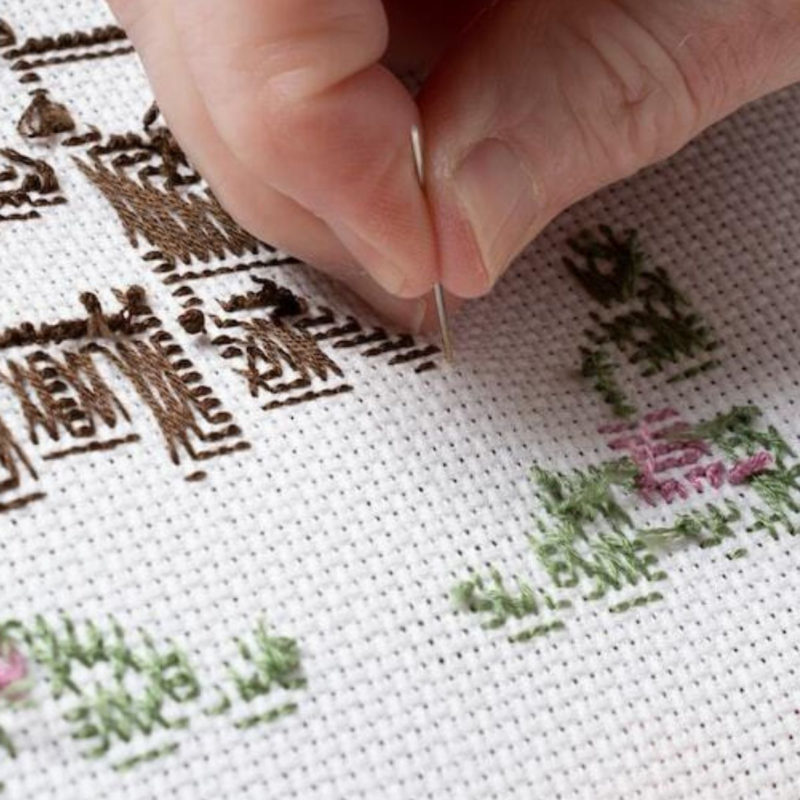
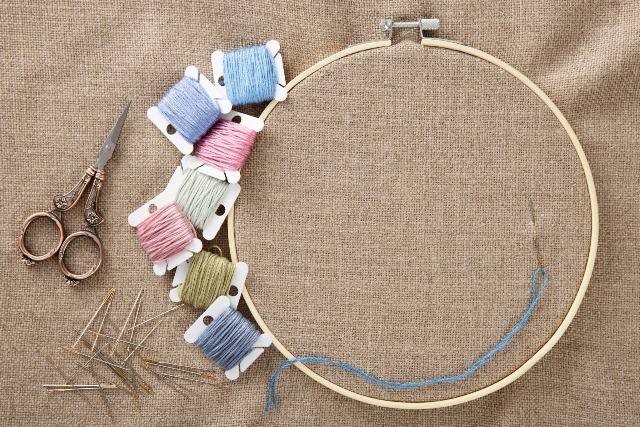
No matter what kind of embroidery you do, the bottom line is the same: you need to know how to sew with a needle and thread. You can buy a machine and learn how to use it, but you’ll never be as fast as someone who doesn’t use a machine and is familiar with hand stitching.
The Hand Embroidery Stitches

Here are the basic stitches that you’re going to need for learning how to do hand embroidery:
Satin Stitch
The Satin Stitch is used to fill an area with a smooth curved line. It’s worked by making long stitches in the shape of the line or curve that you want, then making short stitches closely together in the center of the curve. This stitch works well for filling curved areas, but not straight lines or corners.
French Knot Stitch
The French Knot Stitch is made by making a long stitch, then wrapping the thread around the needle twice before pulling it all the way through to make a small knot. This stitch is used for making small flowers or dots on your work, but it’s also very useful for filling small areas with straight lines of stitching, like birds’ wings or leaves on trees.
Fishbone Stitch
The Fishbone Stitch is made by making a series of long stitches in one direction, then making a series of short stitches in the other direction across the long stitches. This stitch makes an attractive leaf shape when worked in two colors, but it’s useful for filling any shape with straight lines of stitching, too.
Buttonhole Stitch
The Buttonhole Stitch is made by making several short stitches close together in one direction, then pushing the needle through the fabric from back to front just below where you started your stitches, pulling your threads through to form several small loops on top of each other. This stitch creates an attractive design that will form small loops when worked in two different colors, but it works equally well for any shape that needs filling with straight lines of stitches in one color.
Seed Stitch
The Seed Stitch is made by making one long stitch, then sewing over it two or three times before pulling your threads through to make a small knot at the end of your stitch. This stitch is used for filling curves like flower petals or leaves on trees, but it can also be used for filling any rounded area with evenly spaced stitches, like flowers or fruit on pages in an embroidery book.
Chain Stitch
The Chain Stitch is made by making several short stitches close together in one direction, then sewing over them two or three times before pulling your threads through to make a small knot at the end of your stitch. This stitch is used for filling shapes with evenly spaced rows of stitches in one color in any direction.
Bottom Line
These six basic embroidery stitches are all you need in order to learn how to do hand embroidery. Practice them until they’re easy for you to do, then learn some more advanced embroidery stitches so that you can fill more complex shapes with embroidery designs that are just right for what you want to do.


It’s amazing!! Great artist👍👍